
Quick answer: choose the photo in Local Photo Upscaler, pick Denoise, run it, and compare. The AI model reduces grain and color speckle and normally keeps the photo’s original size. On iOS 1.1.10, very large photos may be processed at a smaller size on devices with less memory. Processing runs on the iPhone, so nothing is uploaded.
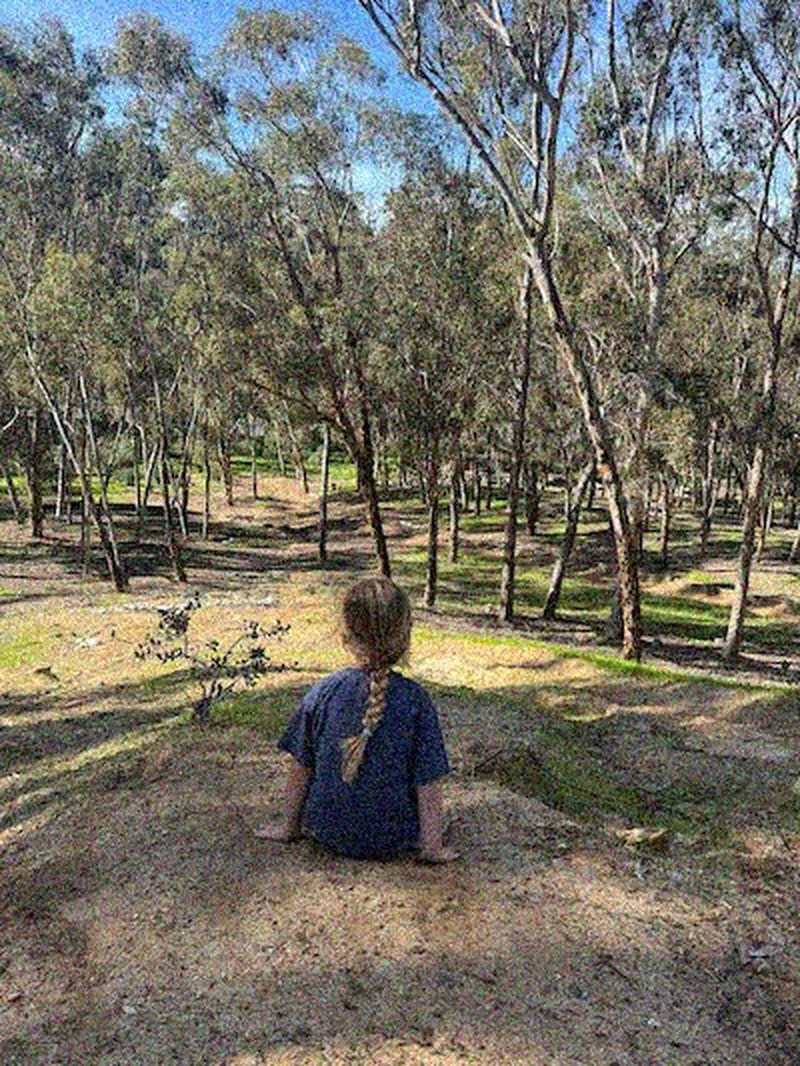
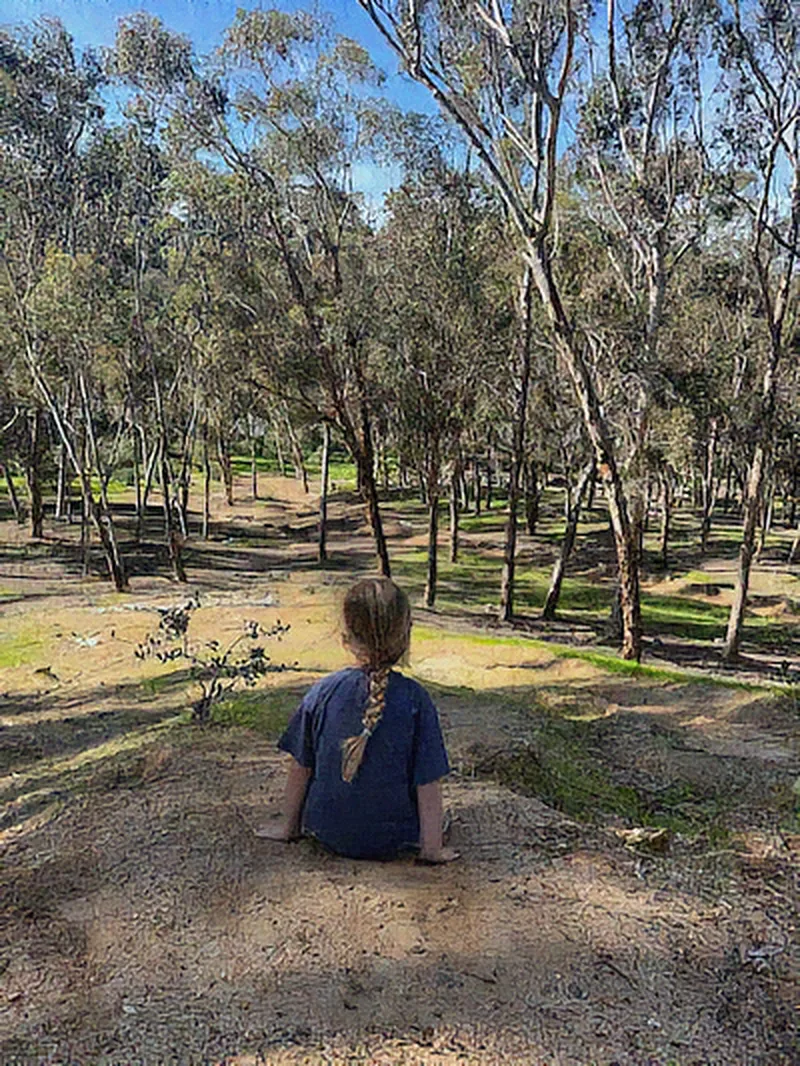
When Denoise is the right mode
- Indoor, evening, or concert photos with visible grain
- Colored speckles in shadows
- Old phone photos and small, compressed downloads
- Grainy scans you plan to enlarge afterwards
If the photo is mostly soft rather than grainy, try Sharpen. If it is simply small, start with Upscale.
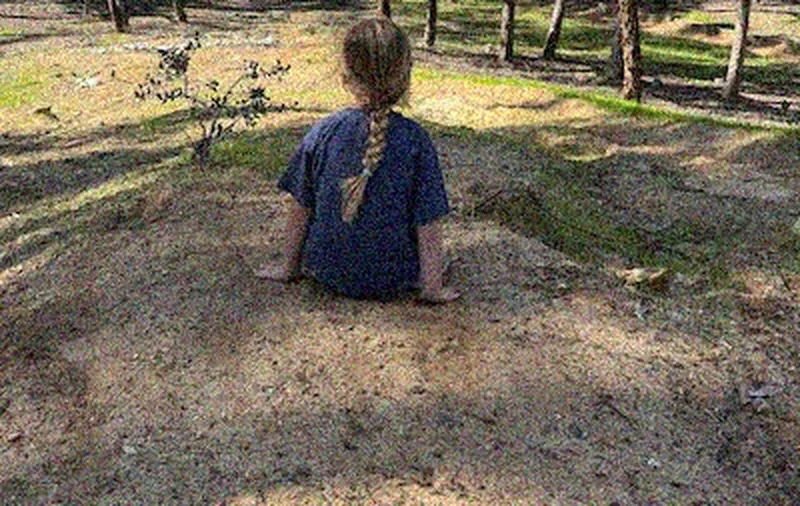
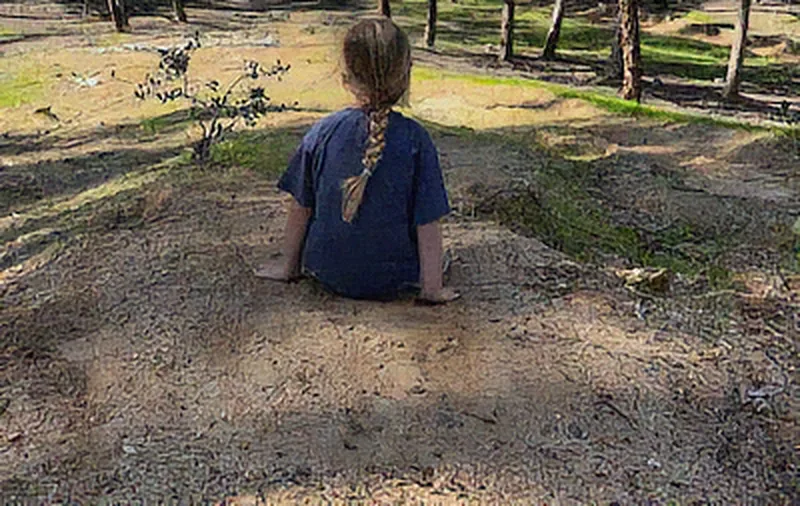
What to inspect before saving
Denoising works by telling noise apart from detail, and it is not always right. Zoom in on hair, fabric, grass, and leaves, where real texture can be smoothed away. Then look at skin and sky, where noise is easiest to see. Keep the version that looks natural at the size you will actually use.
Denoise, then upscale
Enlarging a grainy photo also enlarges the grain. When a result is ready you can run another mode on it, so run Denoise first and then Upscale.
Why on device matters here
Low-light shots are often the most personal ones: parties, kids at bedtime, the inside of your home. Local Photo Upscaler processes them locally with no account and no server, which is also why it works in airplane mode.